This guide covers the essential steps to create a functional “Hello World” application in Android Studio.
1. Project Setup
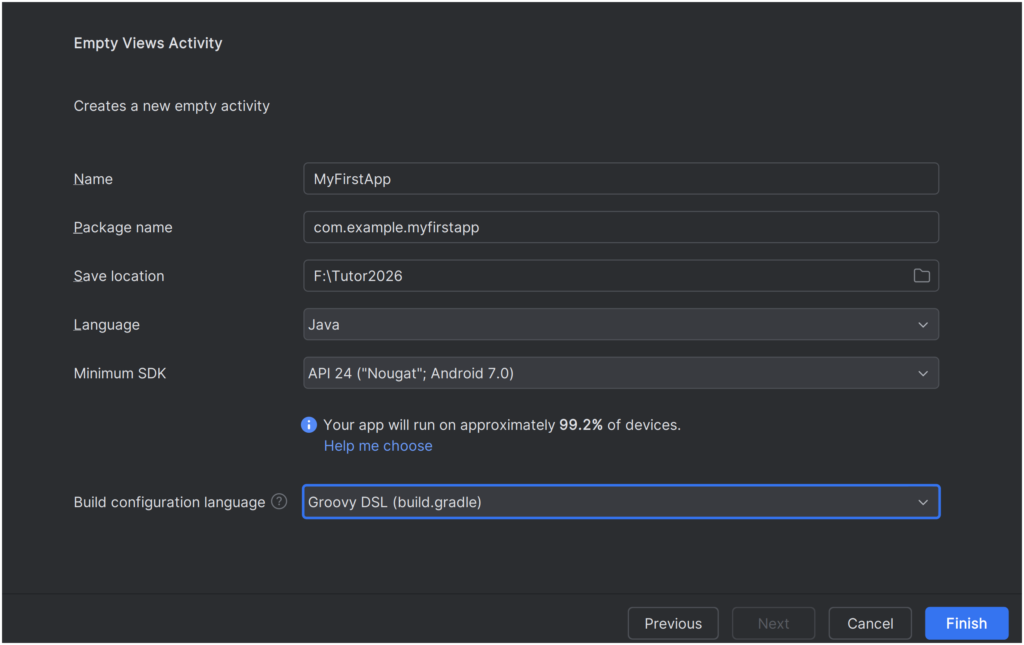
- Open Android Studio: Select “New Project” from the welcome screen.
- Template Selection: Choose “Empty Views Activity”. This is the standard choice for beginners as it provides a clear separation between logic (Java) and design (XML).
- Configure Your Project:
- Name: MyFirstApp
- Language: Select Java.
- Minimum SDK: Recommended is API 24 (Android 7.0) to ensure compatibility with most modern devices.
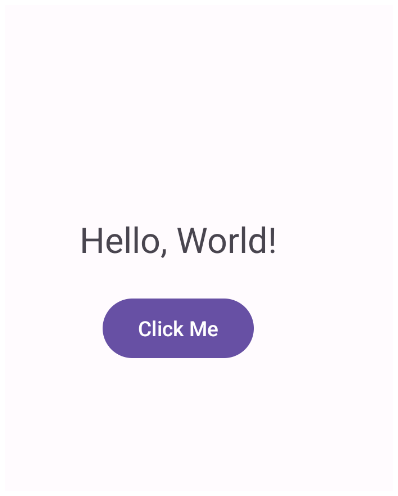
2. Designing the Layout (XML)
Android uses XML for UI design. Navigate to res -> layout -> activity_main.xml. This file defines how your app looks.
<?xml version="1.0" encoding="utf-8"?>
<RelativeLayout xmlns:android="http://schemas.android.com/apk/res/android"
    android:layout_width="match_parent"
    android:layout_height="match_parent"
    android:padding="16dp">

    <TextView
        android:id="@+id/hello_text"
        android:layout_width="wrap_content"
        android:layout_height="wrap_content"
        android:text="Hello, World!"
        android:textSize="24sp"
        android:layout_centerInParent="true" />

    <Button
        android:id="@+id/change_text_button"
        android:layout_width="wrap_content"
        android:layout_height="wrap_content"
        android:layout_below="@id/hello_text"
        android:layout_centerHorizontal="true"
        android:layout_marginTop="20dp"
        android:text="Click Me" />

</RelativeLayout>
3. Writing the Logic (Java)
Now, navigate to java -> com.example.myfirstapp -> MainActivity.java. This is where you tell the app what to do when the user interacts with the UI.
package com.example.myfirstapp;
import android.os.Bundle;
import android.view.View;
import android.widget.Button;
import android.widget.TextView;
import androidx.appcompat.app.AppCompatActivity;
public class MainActivity extends AppCompatActivity {
@Override
protected void onCreate(Bundle savedInstanceState) {
super.onCreate(savedInstanceState);
// Connects this Java file to the XML layout
setContentView(R.layout.activity_main);
// Link the Java objects to the UI elements by their IDs
final TextView helloText = findViewById(R.id.hello_text);
Button myButton = findViewById(R.id.change_text_button);
// Set a listener for the button click
myButton.setOnClickListener(new View.OnClickListener() {
@Override
public void onClick(View v) {
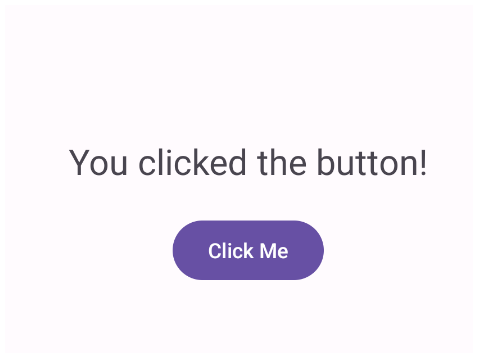
// Change the text when the button is pressed
helloText.setText("You clicked the button!");
}
});
}
}
4. Running the App
- Emulator: Go to Device Manager in Android Studio and create a Virtual Device (like a Pixel 6).
- Run: Click the green “Play” icon in the top toolbar.
- Result: You will see “Hello, World!” in the center of the screen. When you click the button, the text will update instantly.